

Advertisement

Advertisement
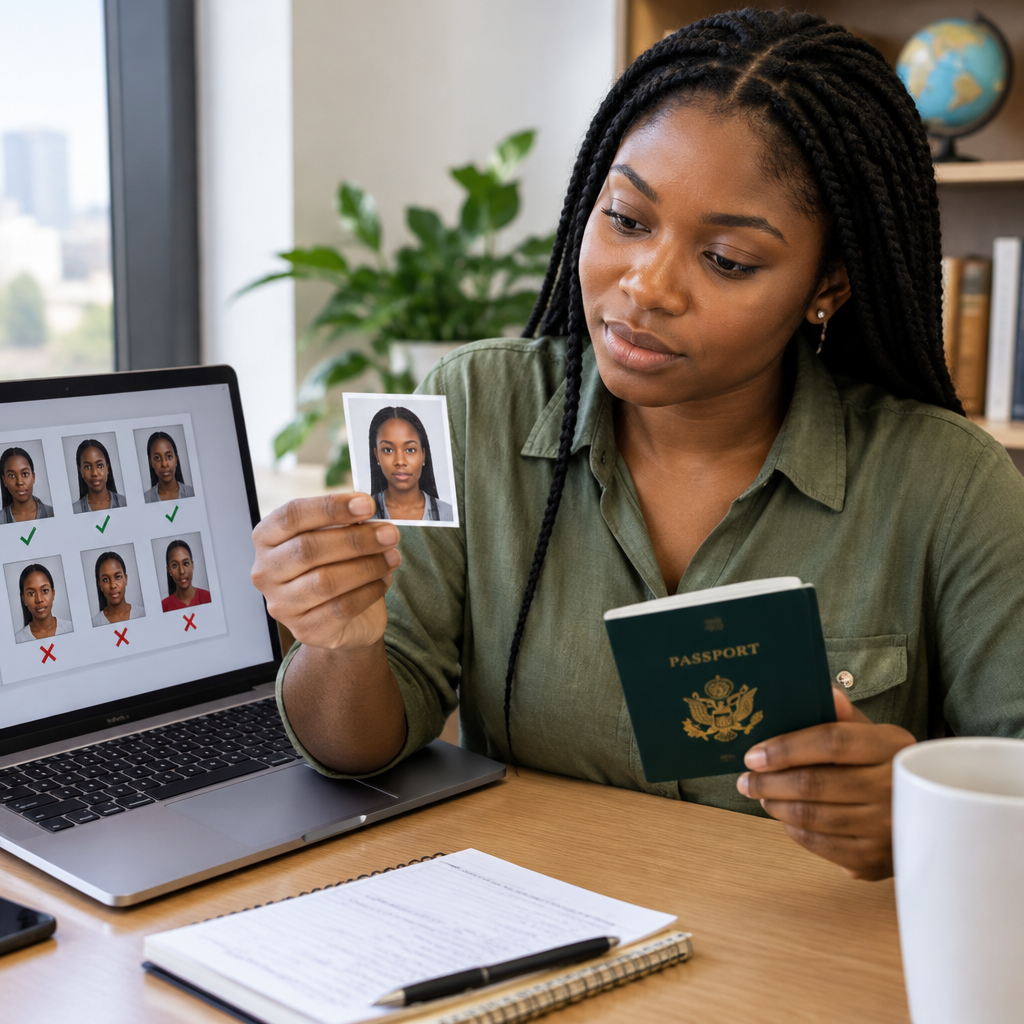
A passport photo can look perfectly acceptable and still be rejected because it does not meet the exact rules for the application. The required size, background, expression, clothing, file format and submission method may differ between a passport application, visa application, residence permit, school form or online immigration portal.
Before taking or uploading a photo, confirm the requirements for the specific application and country. Do not rely only on a photographer’s general experience or a photo that was accepted for a previous application.
Advertisement
Table of Contents
Start with the correct official requirements
The most important step is identifying the authority handling your application. This may be a passport office, embassy, consulate, immigration department, visa application centre, university or another government-approved organisation.
Use the photo instructions on the authority’s official website, application portal or instruction document. Check that the requirements apply to your exact application type. A passport renewal may have different instructions from a visa application, while an online application may require a digital file rather than printed photographs.
Look for information covering:
- Physical photo dimensions or digital image dimensions
- Whether the image must be printed, uploaded or both
- Background colour and texture
- Head position, facial expression and eye direction
- Rules for glasses, head coverings and religious clothing
- File type, file size and image resolution
- How recently the photo must have been taken
- Whether children and babies have special instructions
If the official instructions are unclear, contact the relevant authority or approved application centre before submitting. A local photographer may help you create the image, but the final responsibility for meeting the rules remains with the applicant.
Separate printed-photo rules from digital-photo rules
Printed photographs are usually assessed by their physical size, image quality, paper and presentation. Digital photographs are assessed by pixel dimensions, file format, file size, image quality and sometimes the way the image is uploaded.
Do not assume that scanning a printed photograph will automatically produce an acceptable digital file. Scanning can reduce sharpness, create shadows or introduce marks around the edges. Similarly, resizing a digital image several times can make the face appear blurred or distorted.
Before submission, confirm whether the portal accepts formats such as JPEG and whether it imposes a maximum file size. These technical requirements can vary, so avoid relying on a general online image guide.
Use a simple requirement-checking workflow
1. Save the official instructions
Take a screenshot, download the instruction page or write down the requirements. This is useful when you visit a photographer or prepare the image on your phone. Keep the application reference or name nearby so that you do not mix up requirements for different applications.
2. Create a short photo specification
Turn the official instructions into a simple note, such as:
- Printed or digital image
- Required dimensions
- Background requirement
- Expression and head-position rules
- Clothing and glasses rules
- File format and maximum size
- Number of copies, if printed photos are required
Showing this note to the photographer reduces the chance of receiving a standard passport package that does not match your application.
3. Take the photograph under controlled conditions
The face should be evenly lit, clearly visible and in focus. Avoid strong shadows on the face or background, flash glare, coloured lighting and objects behind the head. A plain background is generally easier to check than a patterned or busy one, but follow the specific colour requirement for your application.
Keep the camera at approximately eye level. Stand or sit upright and look directly at the camera unless the official instructions say otherwise. Do not tilt the head, lean to one side or crop the image so tightly that the top of the head or part of the face is missing.
4. Review the image before editing
Check the original photograph at full size. Confirm that the eyes are open and visible, the face is sharp and the lighting is even. Make sure the image has not been accidentally mirrored, stretched or compressed.
Basic cropping may be necessary, but avoid filters, beauty effects, artificial background replacement or heavy retouching. The photograph should represent your current appearance. Digital editing that changes facial features can create problems during identity checks.
5. Test the final file or print
For an online submission, confirm the file extension, dimensions and size after the final edit. Do not check the file before resizing and assume it still meets the rules afterwards.
For printed photographs, check that the print is clean, sharp and not damaged. Avoid folding, stapling or writing on the image unless the application instructions specifically direct you to do so.
Appearance and clothing: common areas of confusion
Most identity-photo systems require a neutral, natural expression with the mouth closed, although the exact wording varies. Smiling broadly, opening the mouth or using an exaggerated expression may make the photograph unacceptable.
Wear clothing that contrasts reasonably with the background and does not cover the face. Head coverings may be allowed for religious or medical reasons, but they normally must not hide the eyes, cheeks or outline of the face. Do not assume that a hat, cap or fashion accessory is acceptable.
Glasses rules differ. Some authorities allow ordinary glasses if the eyes are completely visible and there is no reflection. Others may apply stricter rules. Sunglasses, tinted lenses, heavy frames and glare can cause rejection. Check the specific instructions rather than relying on what was accepted previously.
Special care for babies and children
Children’s photo requirements may allow limited differences in posture or expression, but the child’s face still needs to be visible and the image must meet the authority’s rules. A parent or another person should not appear in the frame unless the instructions permit it.
For babies, use a safe, stable setup and never place the child in a dangerous position to obtain a photograph. A plain light-coloured surface may help, but confirm whether the authority requires a particular background. Remove toys, blankets, pacifiers and other objects if they are not permitted.
Common mistakes that lead to rejection
- Using a photo from an old application without checking its age requirement
- Submitting a selfie with an unusual camera angle or visible arm
- Using a background with shadows, patterns or household objects
- Uploading a screenshot instead of the original image file
- Changing the image dimensions without preserving its proportions
- Using filters, skin-smoothing tools or face-changing effects
- Ignoring file-size limits on an online portal
- Assuming a photograph accepted by one country or organisation will work for another
- Trusting an unofficial social-media post instead of the application authority
A practical final check before submission
Place the official requirements beside the finished photograph and verify each item individually:
| Check | What to confirm |
|---|---|
| Identity | The image shows the applicant’s current appearance clearly. |
| Framing | The head and face are positioned as required, without awkward cropping. |
| Lighting | The face is sharp, evenly lit and free from distracting shadows or glare. |
| Background | The background matches the specified colour and appearance. |
| Expression | The eyes and facial expression meet the stated rules. |
| Clothing | Nothing unnecessarily covers the face or creates confusion. |
| Technical details | The dimensions, format and file size match the portal’s instructions. |
| Submission | The required number of prints or files is ready in the correct location. |
What to do if the portal rejects the photo
Read the exact error message before changing the image. A rejection may relate to file size, dimensions, background, brightness or facial positioning. Correct that issue without applying unnecessary edits that could create another problem.
If the portal does not explain the reason, return to the official photo guide and compare the image carefully. You can also ask the relevant authority or approved centre for clarification. Do not repeatedly upload random versions, especially when a submission has a limited number of attempts.
The safest approach is simple: identify the official rules first, prepare the photograph for that exact application, and perform a final technical and visual check before submitting. A professional photographer can help, but no photographer can replace checking the instructions supplied by the authority handling your passport or immigration application.
Advertisement
