


Advertisement
Preparing for an F-1 student visa interview can feel overwhelming, especially when several documents come from different sources. The safest approach is to organise your evidence around one simple story: you have been admitted to a genuine U.S. school, you understand your programme, you can fund your studies and you intend to follow the conditions of your visa.
Documents do not guarantee approval. A consular officer may ask questions about your education, finances, study plans and future intentions. However, good preparation can help you answer accurately and avoid delays caused by missing, inconsistent or unclear information.
Advertisement
Table of Contents
Understand what the F-1 visa is for
The F-1 visa is generally used by international students who plan to study full-time at an accredited U.S. academic institution or language-training programme. It is different from a visitor visa, work visa, permanent residence and citizenship.
Your visa application should therefore be based on a specific programme and school. Do not present study as a vague plan to travel to the United States. Be ready to explain:
- Why you chose the programme
- Why the school is suitable for your academic or career goals
- How the programme connects with your previous education or experience
- How you plan to pay for tuition and living expenses
- What you intend to do after completing your authorised studies
Create a document system before booking your interview
Use one physical folder and one secure digital folder. Arrange documents in sections rather than carrying loose papers. A useful order is:
- Identity and appointment documents
- School admission documents
- Government and visa forms
- Academic records
- Financial evidence
- Employment, sponsorship or family documents
- Additional supporting evidence
Keep originals where available, plus clearly labelled photocopies. Save digital copies in a secure location that you can access if a document is lost. Do not send your passport, bank details, passwords, PINs or other sensitive information to an unofficial agent merely for “verification”.
Section one: identity and appointment documents
Start with documents that confirm who you are and show that you have followed the application process. These commonly include:
- A valid Nigerian passport
- Confirmation of the completed DS-160 application
- The visa application appointment confirmation
- Proof of payment of applicable visa-related fees
- A recent visa photograph if required by the current instructions
Check that your name, date of birth and passport number are consistent across your forms and school documents. Differences in spelling or name order can create confusion. If your name has changed or appears differently on academic or financial records, prepare a clear explanation and supporting evidence where applicable.
Section two: documents from your U.S. school
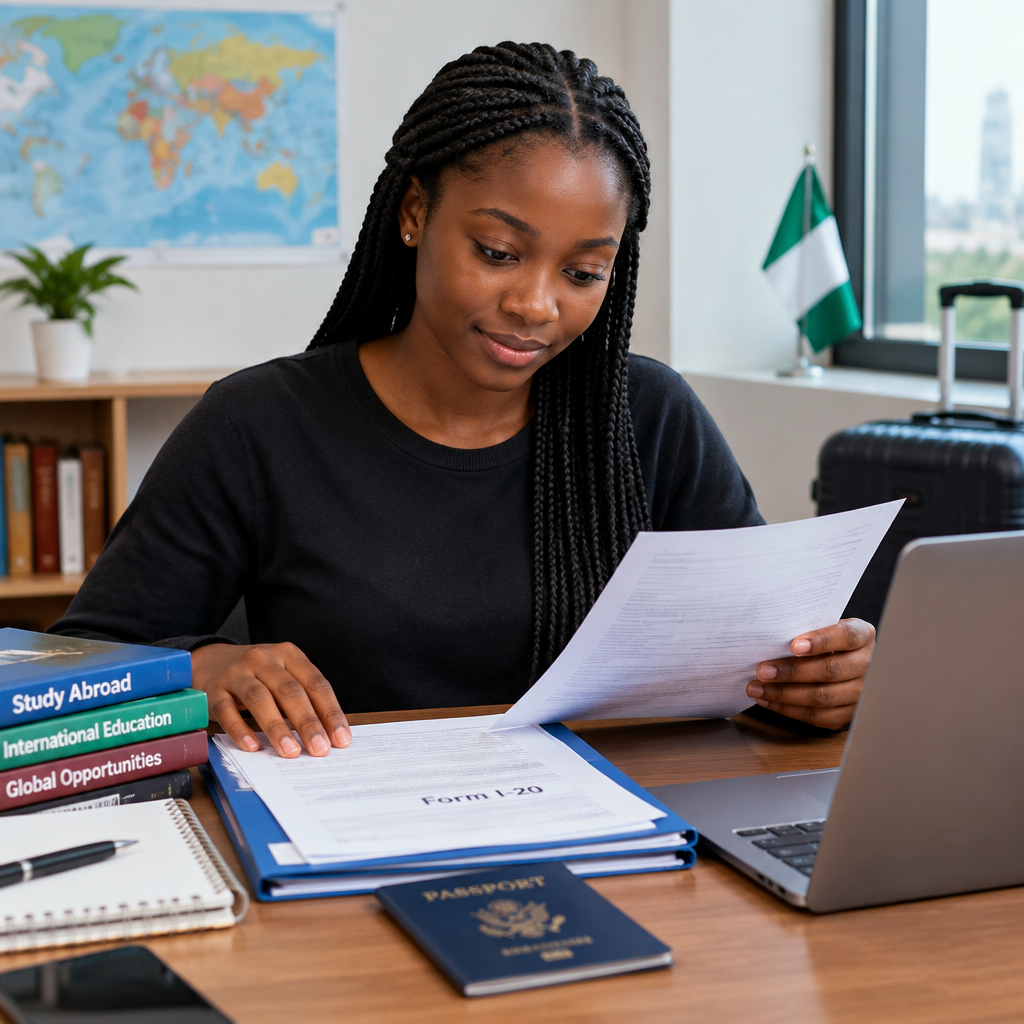
Your school should provide the key document showing that you have been accepted and entered into the relevant student-information system. This is the Form I-20. Review it carefully as soon as you receive it.
Check the following details:
- Your full name and date of birth
- The school name and campus
- Your programme and education level
- The programme start date
- The estimated cost of attendance
- The funding information shown by the school
Contact the school’s international student office if any information is wrong. Do not edit the form yourself. You may also need proof of admission, an admission letter, scholarship information and correspondence from the school.
Make sure you understand the programme before attending the interview. Know its duration, main subjects, location and expected start date. A student who cannot explain the programme may appear unprepared, even when the admission is genuine.
Section three: DS-160 and SEVIS-related records
The DS-160 is the online nonimmigrant visa application. Complete it carefully and answer every question truthfully. Before submitting, compare important details with your passport, Form I-20, admission documents and travel history.
After submission, keep the confirmation page and application information. You should also retain evidence of any required student-related fee payment, including the receipt connected with the Student and Exchange Visitor Information System where applicable. Use the official U.S. government instructions for the current payment process and requirements because fees and procedures can change.
Section four: academic documents
Prepare documents that show your educational background and support your readiness for the proposed programme. Depending on your circumstances, these may include:
- Secondary-school certificates and transcripts
- University certificates and transcripts
- Professional qualifications or training records
- Admission-test results, if required by the school
- English-language test results, if submitted or required
- Academic explanations for gaps, changes of course or repeated studies
Bring original records or official copies where possible. If documents are not in English, check whether the school or U.S. authorities require certified translations. The translation should be accurate and should not replace the original record.
Section five: financial evidence
Financial preparation is one of the areas that requires the most care. Your evidence should reasonably support the costs listed by the school, including tuition and expected living expenses. The exact amount depends on the programme, location and school.
Possible evidence may include:
- Recent bank statements
- A scholarship or assistantship letter
- An education-loan approval or funding letter
- Evidence from an employer or organisation sponsoring you
- Business records where a parent or business owner is funding the study
- A clear sponsor letter explaining the relationship and commitment to fund your education
Do not present unexplained deposits simply to make an account balance appear larger. A sudden large deposit without a credible explanation can raise questions. If your sponsor is a parent, relative or organisation, be able to explain who the sponsor is, how the funds were obtained and why the sponsor is supporting you.
Use documents that are genuine, recent and consistent. Never submit altered bank statements, fake employment letters or fabricated certificates. Misrepresentation can cause serious immigration consequences beyond one refused application.
Section six: employment, family and personal background
Additional documents may help explain your current situation. For example, an employed applicant may bring an employment letter, while a business owner may organise registration or business records that accurately describe the enterprise. A sponsored applicant may include evidence that connects the sponsor to the student.
These documents are supporting evidence, not a substitute for honest answers. Do not carry papers that you cannot explain. A large file is not automatically stronger than a small, well-organised file.
Prepare for the interview, not just the paperwork
Practise answering in your own words rather than memorising a speech. Questions may cover your course, school choice, funding, previous education, travel history and plans after graduation.
Good answers are usually:
- Direct rather than unnecessarily long
- Consistent with your DS-160 and Form I-20
- Specific about your academic and career objectives
- Honest about your circumstances
If you do not understand a question, politely ask for clarification. Do not guess. Do not claim that a relative, agent or school has guaranteed approval. No agent can guarantee a visa decision.
A final document check
Before your appointment, confirm that you have:
- A passport with sufficient validity for your travel plans
- The DS-160 confirmation page
- Appointment confirmation and fee-payment evidence
- Your Form I-20 and admission documents
- Required student-fee payment evidence
- Academic records and translations where needed
- Credible financial and sponsorship evidence
- Explanations for unusual gaps, deposits or changes in your history
Check the official U.S. Embassy or Consulate instructions applicable to applicants in Nigeria before attending, because appointment procedures, document requests and security rules can change.
The strongest preparation is not about carrying every document you can find. It is about presenting a truthful, coherent and verifiable explanation of your education plans. Organise your records so that each document supports the same story, understand the programme you are entering and use only official sources for the latest instructions.
Advertisement
