


Advertisement
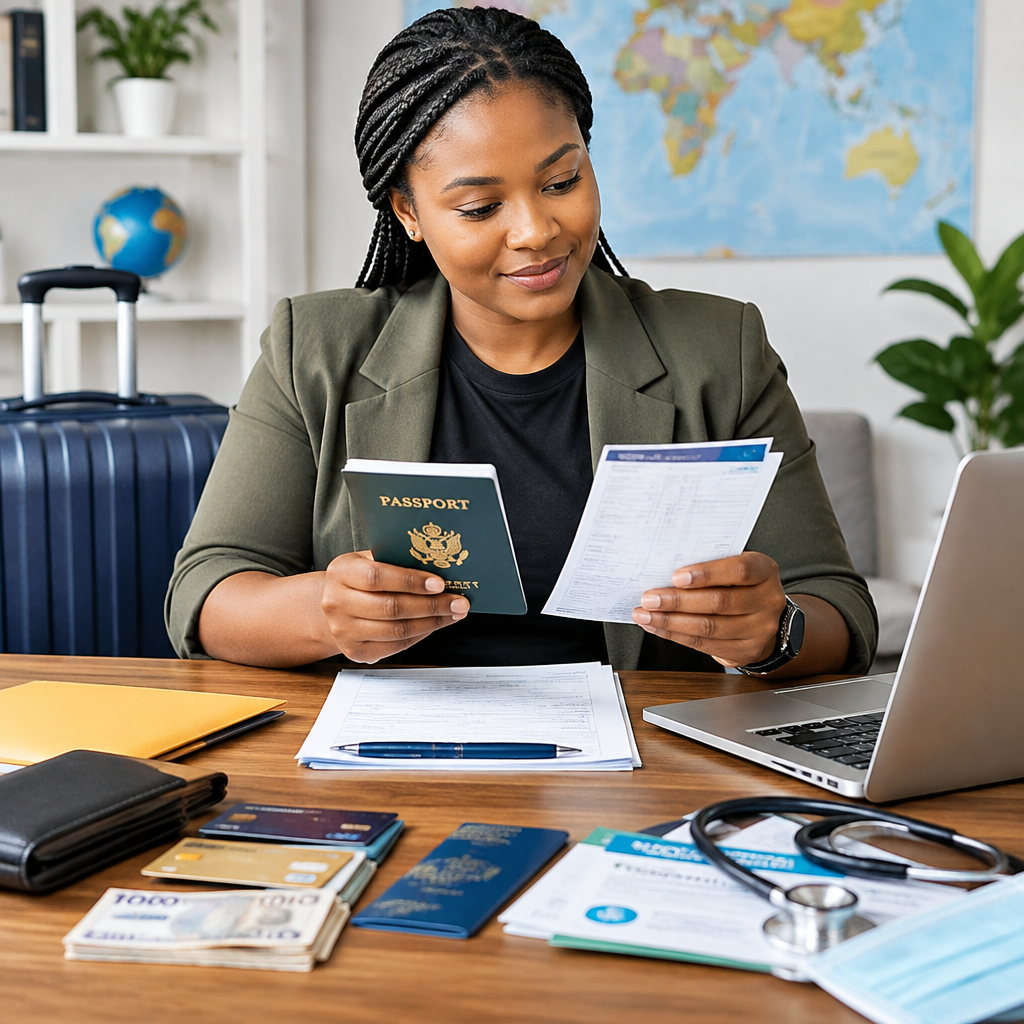
International travel becomes stressful when important documents are scattered across email, WhatsApp, phone storage and paper files. A complete travel file helps you apply confidently, respond to requests from an embassy or airline, and deal with problems before departure.
For Nigerians travelling for tourism, study, work, business or family visits, the exact requirements depend on the destination, visa category and personal circumstances. There is no universal document list that guarantees entry or visa approval. However, you can prepare a strong file by organising the main identity, application, financial, travel and supporting documents in advance.
Advertisement
Table of Contents
Start with the destination and purpose of travel
Before collecting documents, write down three details:
- The country you intend to visit
- The purpose of the trip, such as tourism, study, work, business or visiting family
- The expected length of stay
These details determine the type of visa or travel permission you may need. A visitor visa is different from a student visa, work visa, transit visa or residence permit. Do not use a visitor application to explain a purpose that requires another immigration category.
Check requirements through the destination country’s official immigration website, embassy or consulate. If an application is submitted through an authorised visa application centre, confirm the centre’s details from the official government or embassy website. Requirements, forms, fees and appointment procedures can change, so avoid relying only on old social media posts, agents or forwarded messages.
The core identity documents
Place these documents at the front of your file because most other parts of the application depend on them.
International passport
Your Nigerian international passport should be valid for the period required by the destination country. Some countries also expect unused visa pages and may require validity beyond the planned date of return. Check the specific rule instead of assuming that any valid passport is sufficient.
Make clear colour scans of the passport biodata page and relevant pages containing visas, stamps or personal information. Keep the original passport safe and do not submit it to an unofficial person.
Photographs
Visa photographs must usually meet precise requirements relating to size, background, lighting, facial expression and how recently they were taken. Use the specification provided by the embassy or application centre. Do not edit a photograph in a way that changes your appearance.
National and civil-status documents
Depending on the application, you may need documents such as a birth certificate, national identity information, marriage certificate, name-change evidence or documents relating to children. If your name differs across documents, prepare the legal evidence explaining the difference.
Where a document is not in an accepted language, check whether the authority requires a certified translation. Do not assume that an informal translation by a friend will be accepted.
Visa and application documents
Save a copy of the completed application form before submitting it. Your answers should match your passport, supporting documents and interview responses. Inconsistent travel dates, employment details, addresses or previous travel history can create avoidable questions.
Your file may include:
- Application form or online submission confirmation
- Appointment confirmation
- Visa-fee payment evidence, where applicable
- Biometrics instruction or confirmation
- Cover letter explaining the purpose and plan of the trip
- Invitation letter, admission letter or employment document, where relevant
- Evidence of previous international travel, if requested
A cover letter should be factual and easy to check. Explain why you are travelling, the proposed dates, who will pay for the trip, where you will stay and why you will return or continue according to the conditions of the application. Avoid dramatic claims and do not include information you cannot prove.
Financial evidence: show a clear and believable picture
Financial documents are not simply about displaying a large account balance. Authorities may examine whether the money is genuinely available, whether it matches your income and whether it reasonably covers the planned journey.
Depending on the destination and visa category, useful evidence may include:
- Recent bank statements obtained through the proper bank channel
- Salary slips or employment income evidence
- Employment letter stating your role, start date and approved leave, where applicable
- Business registration, invoices, tax or business account records for entrepreneurs
- Sponsorship letter and the sponsor’s financial documents
- Scholarship or funding letter for students
Explain unusual deposits rather than hiding them. A recent large payment that does not fit your normal account activity may require evidence of its source. Never borrow money temporarily just to create a misleading statement. False or altered financial documents can cause refusal and more serious consequences.
Accommodation and travel planning
Prepare evidence showing where you expect to stay. This could be a hotel reservation, host information, student accommodation confirmation or other acceptable accommodation evidence. Check whether the authority wants a confirmed booking or merely a proposed itinerary before paying for anything that may be non-refundable.
A simple itinerary should list your intended arrival, main activities, internal travel and departure plan. If someone is inviting you, include their full details and relationship to you, together with the documents the destination authority requests from hosts.
Do not buy expensive non-refundable flights merely because an agent says a ticket is required. Some applications accept a proposed itinerary, while others provide different instructions. Follow the official requirement for your visa type.
Health and other supporting documents
Some destinations, routes or visa categories may require health-related evidence, medical examinations, vaccination records or travel insurance. The requirement can depend on your travel history and the type or length of stay. Obtain medical documents only from providers or channels accepted by the relevant authority.
For study, work and family-based applications, prepare documents that prove the reason for travel. Examples include:
- School admission or enrolment documents
- Academic certificates and transcripts
- Employment contract or work authorisation
- Professional licence or qualification evidence
- Marriage, birth or relationship documents
- Letters from an employer, institution or recognised organisation
Keep both the original and a clean copy where possible. If certification, notarisation, apostille or legalisation is required, confirm the process with the authority handling your application.
Build a digital and physical backup
Create one clearly labelled digital folder with subfolders for identity, application, finances, accommodation, health and supporting evidence. Use consistent file names, such as Passport-Biodata.pdf or Bank-Statement-March.pdf. Make sure scans are readable and show all pages requested.
Store a backup in a secure cloud account and on an encrypted device. Protect the account with a strong password and multi-factor authentication. Do not send your passport, bank statements or personal documents to unknown contacts through public groups.
Carry a small physical folder containing your passport, appointment details, accommodation information, emergency contacts, insurance evidence where applicable and copies of key documents. Keep copies separate from the originals during the journey.
Complete a final consistency check
Before submitting or travelling, compare every document against your passport. Check:
- Names and dates of birth are consistent
- Travel dates match across the form, itinerary, accommodation and leave letter
- The stated purpose agrees with the visa category
- Financial evidence covers the relevant period and is understandable
- All signatures, translations and certifications are included where required
- Files open correctly and scans are complete
- You have saved official contact and appointment details
Never submit a forged document, conceal a refusal or allow an agent to complete answers you do not understand. An agent may help with administrative tasks, but the information remains your responsibility. No legitimate person can guarantee that an embassy will approve your application.
What to remember
A complete travel file is organised evidence, not a pile of documents. Start with the correct travel purpose, use official requirements, explain your finances and itinerary honestly, and keep secure copies of everything submitted. For Nigerians preparing to travel for holidays, education, work or family reasons, careful organisation can prevent missed requirements and make the application process easier to manage.
Advertisement
