

Advertisement

Advertisement
Visiting a service centre for BVN or NIN verification can be stressful, especially when you are unsure which documents to take, whether your details match or what will happen when you arrive. Good preparation can reduce delays and help you avoid paying the wrong person or exposing sensitive information.
BVN and NIN are different identity records. A Bank Verification Number is connected mainly with banking and financial services, while the National Identification Number is issued through Nigeria’s national identity system. The exact requirement depends on the organisation requesting the verification and the type of service you need.
Advertisement
Before leaving home, confirm the request, check the accepted documents with the relevant official provider and make sure your personal details are consistent.
Table of Contents
First, confirm whether you need BVN, NIN or both
Do not assume that a request for one identity number can be completed with the other. Read the message, form or instruction carefully. A bank may ask for BVN-related verification, while a government or service provider may request NIN details. Some processes may require both, but this should be confirmed by the organisation handling your application.
Check the request through an official channel, such as:
- the bank’s official app, website, branch or customer-care channel;
- the official NIMC information channel or an authorised enrolment or service centre;
- the organisation’s verified website or office, if the request is connected to a job, school, account or application.
Be careful with messages that create panic, promise instant approval or direct you to send identity details to a personal phone number. A genuine request should be connected to a clear service or application.
What to prepare before your appointment or visit
1. Gather an accepted identity document
Take an acceptable identity document in the condition required by the centre. Depending on the service, this may include a recognised government-issued identity document or another document listed by the relevant provider. Requirements can differ, so do not rely on a social-media post or an old list without confirming it.
Carry the original document where the process requires it. You may also take a photocopy if the centre requests one, but avoid handing over unnecessary copies of your identity documents to unverified individuals.
2. Check your name and date of birth
Compare the details on your documents with the information on the account or application connected to the verification. Pay particular attention to:
- the order and spelling of your names;
- your date of birth;
- your sex or other identity fields where applicable;
- your telephone number and email address;
- your address, if the requested service requires it.
A small difference, such as a missing middle name or a different date of birth, can lead to a failed match or a request for correction. Do not try to hide the difference. Ask the relevant provider what correction process is required.
3. Save your reference or application details
If you started an application online, save the reference number, appointment information, confirmation page or message. Keep a screenshot and, where possible, write the reference down separately. Your phone battery may run low or mobile internet may be unreliable at the centre.
Do not send your reference number, identity number or other personal information to strangers simply because they claim they can speed up the process.
4. Take a working phone
Some verification or account processes may require a phone number, confirmation message or access to an application. Charge your phone before leaving and keep access to the number connected to your record where possible.
Never reveal a banking PIN, password, one-time password, card security code or email recovery code to a centre worker, agent or anyone claiming to be helping you. A person who needs an identity detail should not need your secret account credentials.
What usually happens at a verification centre
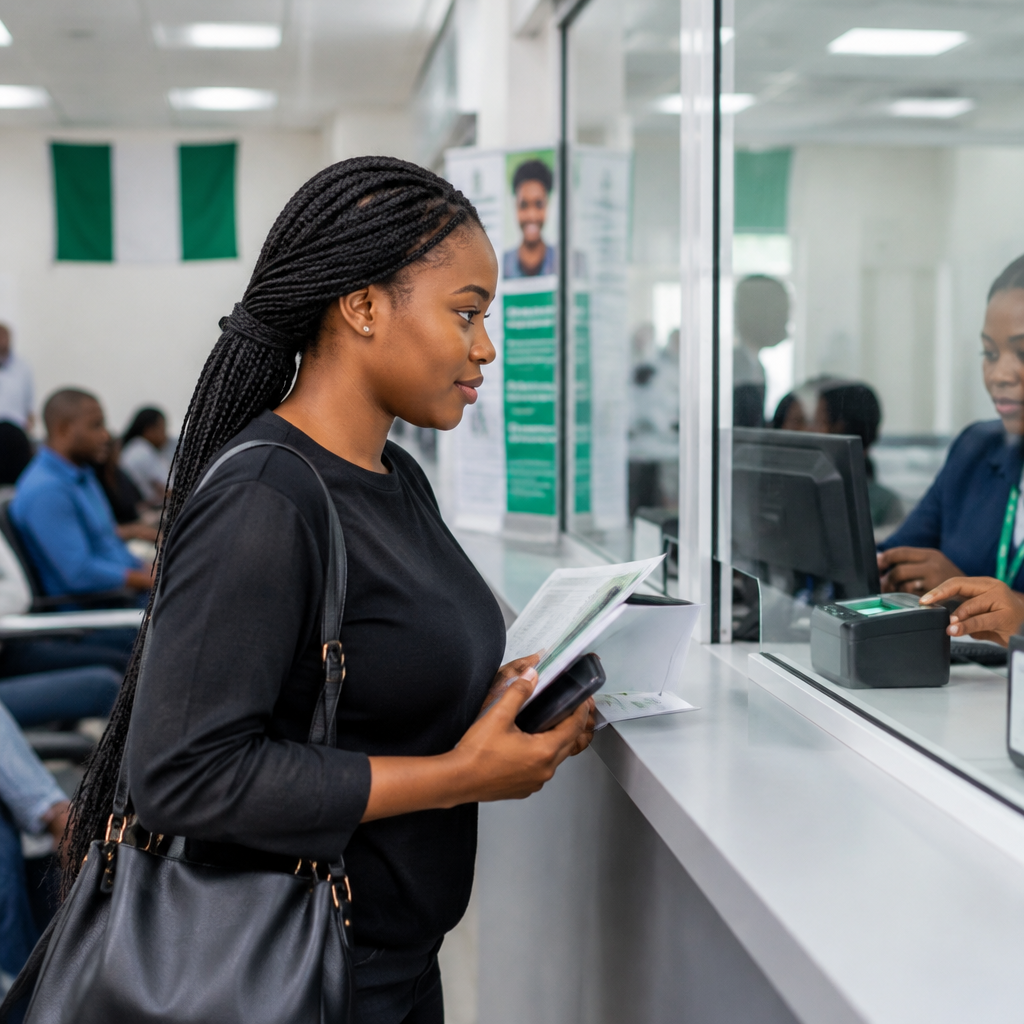
The exact process varies, but a visit commonly involves these stages:
- 受付 or registration: You explain the service you need and provide the requested reference or identity document.
- Document review: Staff check whether your documents and personal details meet the requirement.
- Biometric capture or confirmation: The process may involve fingerprints, a photograph or another form of identity confirmation, depending on the service.
- Data matching: Your details may be checked against an existing record.
- Correction or completion: If there is a mismatch, staff may explain whether you need a correction, another document or a separate appointment.
- Confirmation: Ask how you will know that the process is complete and whether you should keep a receipt, slip or reference number.
Read any form before signing it. If information is wrong, ask for it to be corrected before you approve the submission.
How to deal with common problems
Your name does not match
Do not create a second identity record just to make the names look similar. Ask the official provider about its correction or update procedure. The supporting documents required may depend on the type of error.
Your date of birth is different
Stop and ask which record is considered correct and what evidence is needed to correct the other record. Guessing or submitting inconsistent information can create more difficulty later, especially when the identity record is used for banking, employment or official applications.
Your biometric capture fails
Tell the staff member and follow the centre’s instructions. Finger injuries, worn fingerprints, equipment problems or poor capture conditions can affect the result. Avoid allowing an unofficial person to repeat the process on a private device unless you have confirmed that the person and location are authorised.
You are asked for an unexpected payment
Ask what the payment is for, whether it is official and whether you will receive a receipt. Do not pay into a personal account merely because someone says the payment is urgent. If you are unsure, pause the process and confirm the charge through the relevant organisation’s official channel.
Protect yourself from identity theft
BVN and NIN details are sensitive. They can be used to identify you and may be connected to financial or official records. Treat them with the same care you would give other important personal information.
- Use an official or clearly authorised centre.
- Keep your identity documents in view during the visit.
- Do not post your NIN, BVN, full identity document or verification slip publicly.
- Do not share your ATM PIN, banking password, OTP, card details or email password.
- Be suspicious of anyone promising to change records instantly or bypass official procedures.
- Keep receipts and reference numbers, but store them securely.
SON MEDIA regularly publishes practical guides on digital payments, online safety, financial services and commonly used websites and apps. The same basic rule applies across these services: verify the source before sharing information, and never exchange secret login credentials for assistance.
A simple departure checklist
- Confirm whether the request is for BVN, NIN or both.
- Verify the centre and its requirements through an official channel.
- Take the required original identity document and any requested copies.
- Check that your name and date of birth are consistent.
- Save your appointment, reference number or application details.
- Charge your phone and carry enough data or airtime for necessary communication.
- Prepare to ask for a receipt or confirmation.
- Keep your PINs, passwords, OTPs and recovery codes private.
What to do after the visit
Store any receipt, slip or tracking information safely. If the verification was connected to a bank account, job application, school process or other service, check the status through that organisation’s official platform rather than relying only on an agent’s message.
If you discover that your details are wrong, report the issue promptly through the official provider. Keep a record of when you reported it and any reference number you received.
The best preparation is not carrying every document you own. It is confirming the exact requirement, checking that your identity details agree, using an authorised centre and protecting the information that should remain private.
Advertisement
