

Advertisement
Advertisement
Missing a flight is not the only airport check-in problem travellers face. A passenger may arrive early and still be delayed because the name on the ticket does not match the passport, a visa is missing, a passport is damaged, or the booking contains the wrong travel date.
These problems can be especially stressful for Nigerians travelling abroad, because international journeys may involve passports, visas, residence permits, transit requirements and airline document checks. Before leaving home, recheck the details below and resolve any uncertainty with the airline, embassy, consulate or official travel authority.
Advertisement
Table of Contents
1. Check that the name on your ticket matches your passport
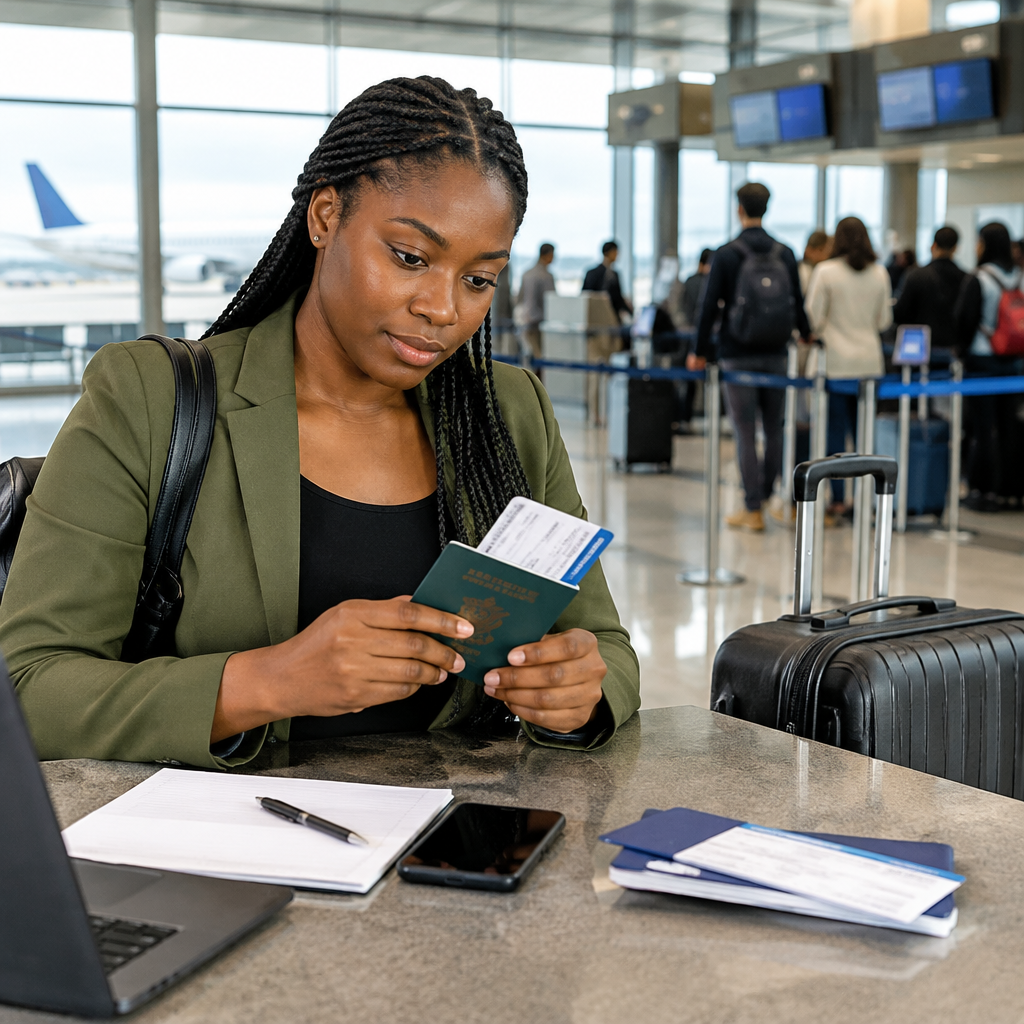
Compare the passenger name on your booking with the personal details page of your passport. Pay attention to spelling, order of names, missing names, extra names and typographical errors.
A small formatting difference may not always cause a problem, but a major mismatch can lead to delays or refusal to board. This is more likely where the booking has the wrong surname, an incorrect first name or another person’s details.
Do not assume that you can simply change the name at the airport. Airlines have different rules. Contact the airline or the agent that issued the ticket as soon as you notice an error. Avoid buying another ticket before confirming what correction or rebooking options are available.
2. Confirm your passport is valid and usable
Check the passport’s expiry date and make sure it has enough blank pages for the journey. Some countries and airlines require a passport to remain valid for a specified period after arrival, while some destinations may also expect blank visa or entry pages.
Also inspect the passport physically. A passport with torn pages, water damage, loose binding, an unreadable photograph or damaged information may create problems during check-in or border inspection.
Take your valid passport to the airport, not only a photocopy or a photograph stored on your phone. Keep a secure copy separately for emergencies, but understand that a copy does not replace the original travel document.
3. Confirm whether you need a visa or another travel authorisation
Having a flight ticket does not mean you have permission to enter the destination country. Depending on your nationality, destination and purpose of travel, you may need a visa, electronic travel authorisation, residence permit, entry approval or other document.
Check the requirement using the official website of the destination’s immigration authority, embassy or consulate. If you are travelling through another country, check transit requirements as well. A passenger who is only changing planes may still need permission to transit in certain circumstances, particularly when changing airports, collecting baggage or passing through border control.
Check the following details on any visa or permit:
- Your name and passport number
- Validity dates
- Number of permitted entries
- Length of stay allowed
- Purpose or category of travel
- Any conditions attached to the document
If you renewed your passport after receiving a visa, do not assume the visa automatically transfers to the new passport. Ask the relevant authority or airline what documents you must carry.
4. Recheck the booking date, route and airport
Confirm the departure date and time using the local time shown on the booking. Check whether the itinerary leaves early in the morning or after midnight, since this can cause confusion about the correct travel day.
Review every part of the route, including:
- Departure airport and terminal, where shown
- Arrival airport
- Connecting airports
- Flight numbers
- Connection time
- Separate tickets for different parts of the journey
Some cities have more than one airport. A connection that looks simple on a booking may require a long transfer between airports, a new check-in process or a visa to enter the country during the transfer. If you booked through an online travel agent, compare the agent’s itinerary with the airline’s booking confirmation and contact the responsible provider if the information differs.
5. Check that your booking is confirmed
Save the airline’s booking reference, ticket number and confirmation email. Do not rely only on a payment receipt. A payment acknowledgement may show that money was received without proving that the flight ticket was successfully issued.
Look for a confirmed itinerary and passenger details. If the booking was made through an agent, ask for the airline’s reservation code and verify the booking through an official airline channel where possible.
Be careful with messages claiming that you must pay an urgent “check-in fee” or “seat release fee” through a personal bank account or an unfamiliar link. Contact the airline or authorised agent using contact details from its official website, not a number supplied only in a suspicious message.
6. Confirm baggage rules before packing
Check how much cabin and checked baggage your fare permits. Allowances can vary by airline, route, ticket type and frequent-flyer status. Also check the size and weight limits, because a bag that meets the weight limit may still be refused if it is too large.
Review restricted and prohibited items before packing. Items such as liquids, sharp objects, batteries, medicines, power banks and certain equipment may have special rules. Keep important medication and essential items in your cabin baggage where appropriate, with supporting prescriptions or medical documents if needed.
Do not place your passport, visa, money, essential medication or valuables in checked baggage. If your checked bag is delayed, you should still have the documents and items needed to continue your journey.
7. Prepare supporting documents for your trip
Border or airline staff may ask questions about the purpose of your trip and your arrangements. Depending on the journey, carry accessible copies of relevant documents such as:
- Return or onward travel details
- Accommodation information
- Invitation or enrolment documents
- Travel insurance details, where required or useful
- Proof connected to a work, study or family visit
- Details of a contact person at your destination
These documents do not guarantee entry. The destination country’s officials decide whether entry requirements have been met. However, organising them can make questions easier to answer and prevent avoidable confusion.
8. Check online check-in and airport timing
If the airline offers online check-in, follow the instructions in the booking or the airline’s official app or website. Online check-in does not always remove the need to visit a counter. You may still need document verification, baggage drop, a printed boarding pass or an inspection of your visa.
Arrive early enough for the airline’s check-in, baggage-drop and boarding deadlines. The exact deadlines depend on the airline, airport and route, so confirm them directly rather than relying on a general rule.
Keep your boarding pass accessible, but protect it from being altered or shared publicly. A boarding pass may contain booking information that should not be posted online.
A simple final recheck workflow
Before leaving for the airport, compare your documents in this order:
- Open your booking and confirm the passenger name, date, route and flight number.
- Compare the booking name and passport details.
- Check passport validity, condition and blank pages.
- Confirm visa, transit and entry requirements through official sources.
- Review baggage allowance and restricted-item rules.
- Place your passport, travel documents, payment method and essential medication in your cabin bag.
- Save offline copies of important confirmations while keeping the originals secure.
What to do if you discover a problem
Do not wait until you reach the airport if you can avoid it. Contact the airline, ticket agent or relevant government authority immediately and explain the exact issue. Keep written records of reference numbers, instructions and any correction request.
Never give your passport password, bank PIN, one-time password or full card security details to someone claiming to fix a travel problem. Legitimate travel support may request identifying booking information, but sensitive account credentials should remain private.
The safest airport check-in is usually prepared before the journey begins. Rechecking the name, passport, visa, route, baggage and booking status can expose small errors while there is still time to correct them. For Nigerians travelling for tourism, study, work or family visits, use official airline and government information whenever requirements are destination-specific, and treat unofficial social-media advice as a starting point rather than proof.
Advertisement